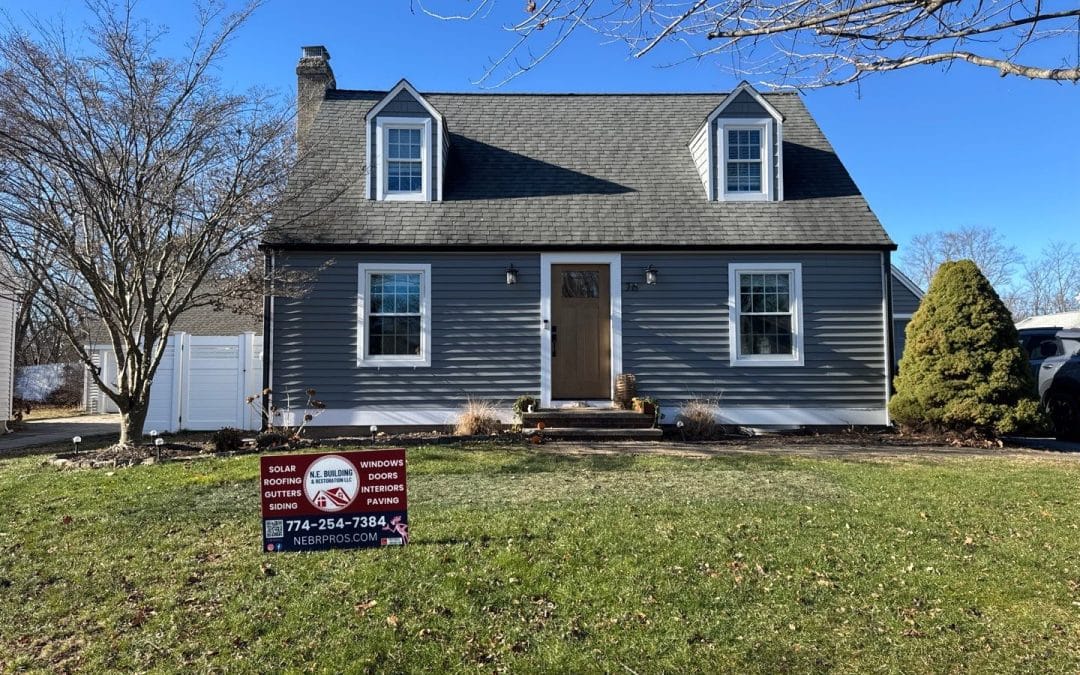
We recently completed a full siding replacement on a classic Cape-style home in Cranston, Rhode Island. Like many homes throughout Rhode Island and Southern New England, this property had siding that had been exposed to decades of wind, rain, snow, and seasonal temperature swings.
The homeowners wanted to refresh the exterior, improve protection from the elements, and ensure the home would remain low-maintenance for years to come. Below is a look at the project and a step-by-step overview of how a professional siding installation is done.

The Project at a Glance
- Home style: Cape
- Location: Cranston, RI
- Scope of work: Full siding removal and replacement, trim and weatherproofing
- Goal: Improve curb appeal, durability, and long-term performance
Step-by-Step: How a Siding Job Is Done
1. Initial Inspection & Planning
Every siding project begins with a detailed inspection. We assess:
- The condition of the existing siding
- Any signs of moisture intrusion or rot
- Window and door trim
- Overall wall condition
This allows us to plan the job correctly and address any issues before new siding is installed.

2. Site Preparation
Before removal begins, we:
- Protect landscaping and walkways
- Set up ladders or staging as needed
- Prepare a safe and organized work area
Good preparation keeps the project efficient and protects the homeowner’s property.

3. Removal of Existing Siding
The old siding is carefully removed to expose the wall sheathing. This step is critical, as it allows us to identify any hidden damage that could compromise the new siding if left unaddressed.

4. Sheathing & Repair Work
Any damaged or deteriorated sheathing or trim is repaired or replaced. Installing siding over compromised materials can lead to moisture problems and premature failure, so this step is essential for long-term results.


5. Weather-Resistant Barrier Installation
A weather-resistant barrier (house wrap) is installed over the sheathing. This provides:
- Protection against wind-driven rain
- Improved energy efficiency
- An added layer of defense against moisture
All seams, corners, and openings are properly taped and flashed.
6. Trim, Corners & Flashing
Before siding installation begins, we install:
- Corner boards
- Window and door trim
- Flashing at all critical transition points
These details not only improve the finished look but also help manage water properly.

7. New Siding Installation
The new siding is installed from the bottom up, ensuring:
- Straight, consistent lines
- Proper fastening for expansion and contraction
- Clean transitions around windows and doors
Care is taken to preserve the traditional Cape appearance while giving the home a fresh, updated exterior.

8. Final Inspection & Cleanup
Once the siding is complete, we:
- Inspect all joints and fasteners
- Seal where needed
- Clean the entire job site
- Review the finished project with the homeowner

The Final Result
This Cranston Cape now has a clean, refreshed exterior and reliable protection against Rhode Island’s tough weather conditions. The new siding enhances curb appeal while providing long-lasting performance and peace of mind.
Considering New Siding for Your Home?
If your siding is cracked, fading, or showing signs of moisture damage, it may be time for an upgrade. A properly installed siding system protects your home and adds value.
Contact us today to schedule an inspection or discuss your siding project in Cranston or surrounding Rhode Island communities. (774)-254-7384